
REVIEW · USA
Moab: The Windows Astro-Photography and Stargazing Hike
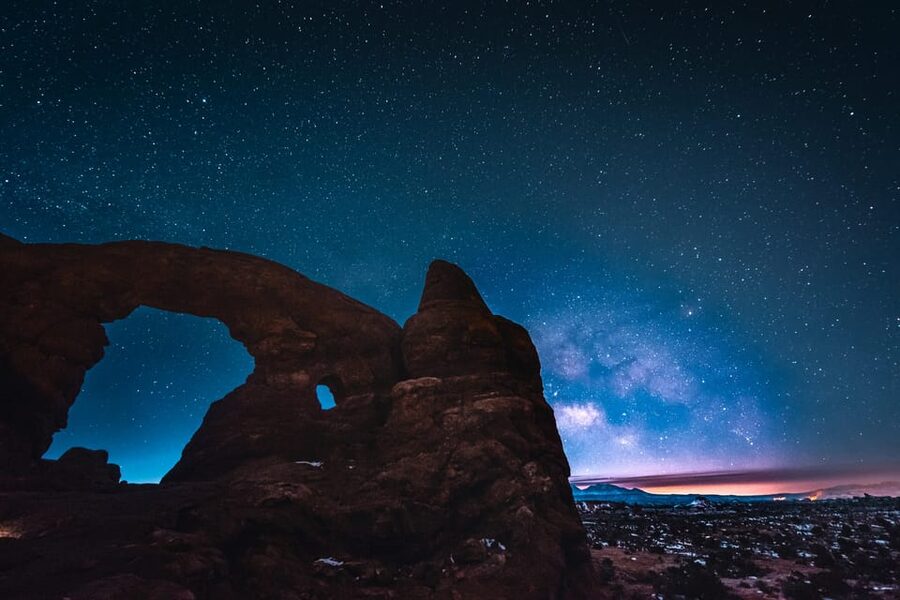
At Arches National Park, the rock formations look different after sunset. The Windows, Turret Arch, and Double Arch become dark shapes beneath a sky bright with stars, while your camera records far more light than your eyes can see. The real prize is not just stargazing, but learning how to photograph the Milky Way with gear you already own.
I like the small group size, limited to six people, and the practical teaching from guides such as Sam and Brandon. I also like that the tour works for phone photographers, not only serious DSLR users. The main consideration is the two-mile hike over dark, uneven ground, so this is not a good fit for anyone with mobility limits or a dislike of nighttime walking.
Key points to know before booking
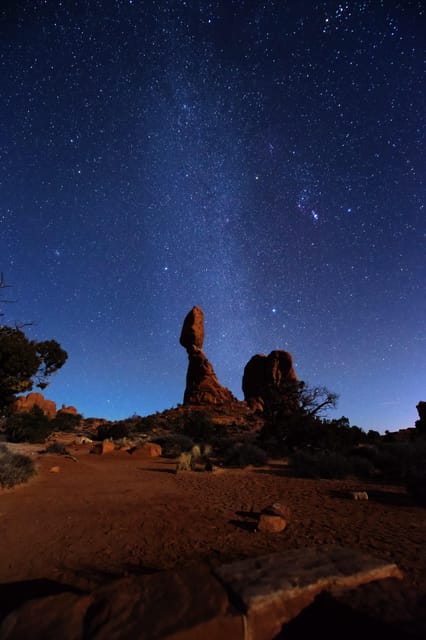
- The route covers about two miles: You’ll walk from The Windows trailhead to North and South Windows, Turret Arch, and Double Arch.
- Your phone can be enough: Guides Sam and Brandon have helped participants use iPhone and other smartphone camera settings for night shots.
- A tripod and red headlamp are included: These make long-exposure photography and safe walking much easier.
- Double Arch is the photographic high point: You’ll have time to practice before reaching this major stop.
- The moon changes the mood: A dark sky is best for the Milky Way, while a full moon lights the arches and trail in a different way.
- The $175 price is for instruction, not transport: You still need to reach the park, pay the $30 standard vehicle entry fee, and bring or rent camera gear.
Why Arches after dark feels so different
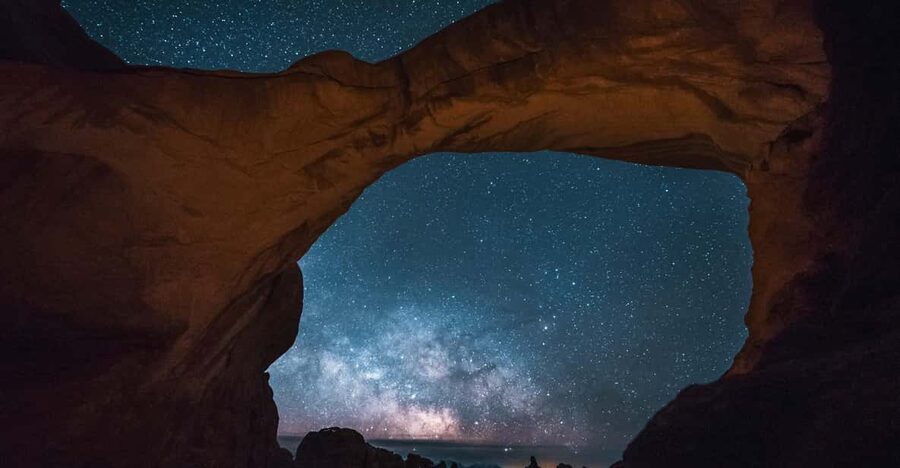
Most visits to Arches National Park happen in full sun. You see the red rock, walk the trails, and try to frame the arches against a blue sky. At night, the park asks more of your senses. Your eyes adjust slowly, the trail becomes a line of shadow and stone, and the formations appear as silhouettes under the stars.
This tour begins after dark in the first parking lot on the right at The Windows parking area. You meet the guide there, collect a red LED headlamp, and set up a tripod if you need one. The red light is useful because it helps you see your footing without flooding the area with harsh white light.
The setting gives the tour more than a standard photography lesson. Your guide can point out the North and South Windows, Turret Arch, and Double Arch while explaining how wind, water, and other forces shaped these large openings in the sandstone. The night setting makes the geology feel quieter and more dramatic, though you should expect less visual detail than during the day.
The park is also far from city lights, which gives you a real chance to see the Milky Way with your own eyes. Keep your expectations sensible. Cloud cover, moonlight, and other conditions affect what you see, and a camera may record faint light that is not visible to you at the time.
More hikes and treks around the USA:
- Lower Antelope Canyon Hiking Tour
★ 5.0 · 6,216 reviews - Boston Freedom Trail Walking Tour with Costumed Guide
★ 4.5 · 2,531 reviews - Multnomah Falls and Columbia River Gorge Half-Day Hiking Tour
★ 5.0 · 2,108 reviews
The two-hour route from The Windows to Double Arch
The hike covers roughly two miles and begins at the Windows trailhead. This is not a long backcountry trek, but walking after dark changes the effort. You need to watch your footing, stay near the group, and listen when the guide points out drop-offs or uneven sections.
The first part of the outing introduces you to the basic camera controls. You’ll learn how to work with low light and how to set up a shot rather than simply point and press the shutter. The exact lesson depends on your camera, but the purpose is clear: you should leave with skills you can use again in other dark-sky settings.
The North and South Windows are early highlights. These huge openings frame the night sky and offer strong shapes for wide photographs. The arches can look very different depending on moonlight. Under a darker sky, the stars take center stage. Under a brighter moon, the rock and trail are easier to see, and the formations receive more shape and detail.
Turret Arch adds another useful photo stop. Here, your guide can help you think about composition, not only camera settings. You may find that a good night photograph needs a clear foreground, a strong outline, and enough sky to show scale. The slow pace gives you time to try more than one arrangement.
The tour continues toward Double Arch, the main photographic highlight of the area. You’ll have time to practice the techniques introduced earlier, then work on images with the galaxy above the arch. This stop is especially useful if you are new to night photography because you can compare your first attempts with later shots and adjust as you go.
The route returns to the parking area after the Double Arch portion. At two hours, the experience is long enough to teach the basics and visit the key formations, but short enough to fit into a busy Moab itinerary.
What the guide actually teaches you
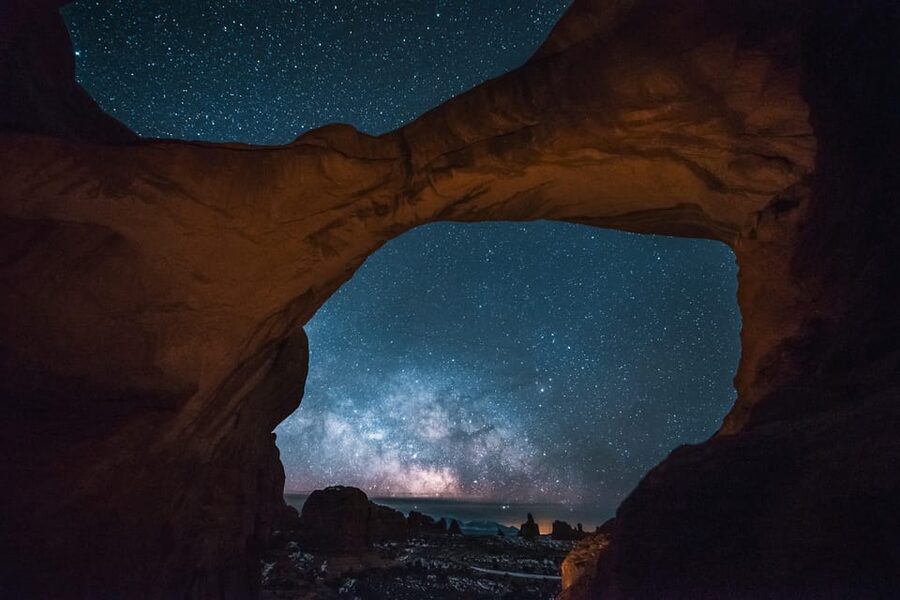
The strongest part of this outing is the hands-on help. A dark sky alone does not guarantee a good photograph. You need to keep the camera steady, let in enough light, and understand how your particular device behaves.
Sam has a photography background and has helped participants work with both cameras and phones. Brandon has also been praised for taking time with each person, explaining camera and iPhone features patiently, and helping the whole group get usable images. That matters in a group of up to six because you can ask for individual help without joining a large crowd.
You’ll work through the fundamentals of astrophotography rather than receive a quick lecture. The guide can help you understand how to operate your camera in manual conditions and how to make adjustments when the first image is too dark, too bright, or blurred.
The tripod is important here. Night photographs often require the shutter to stay open longer than a handheld image can manage. Even a small movement can soften the stars or turn a sharp arch into a fuzzy shape. If you have your own tripod, you may still appreciate not having to carry it to the park, since one is available if needed.
Phone users should not feel out of place. Several participants received help using smartphone night settings, and the guides have worked to help people get strong results from iPhones. Still, you should bring a charged phone and understand that phone models differ. The tour can teach you how to use your device, but it cannot turn every phone into a DSLR.
If you want more control, you can request a DSLR camera or lens rental before the tour. Available lens mounts include Canon EF/EFS and Nikon F. The rental costs extra, so ask about it before the activity begins. This option makes sense if you want to try serious night photography without buying equipment, but it adds expense to an already premium-priced outing.
Moon phase, Milky Way, and what you may see
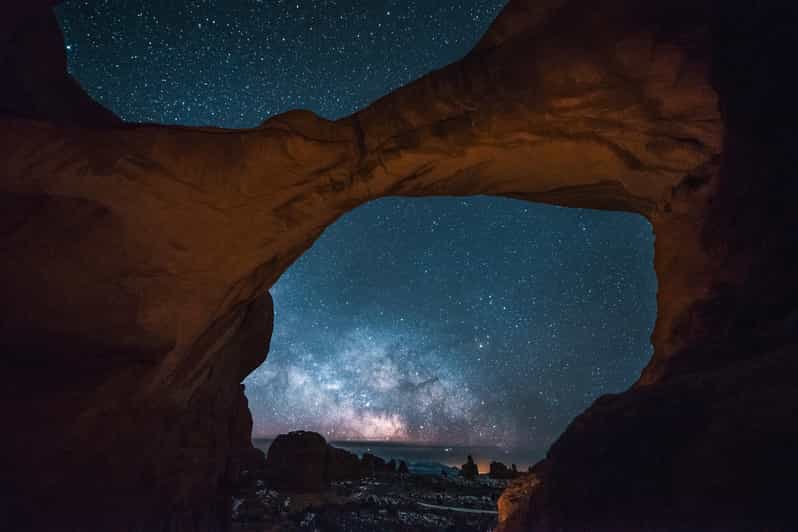
The darkest possible sky is not the only worthwhile option. A new or thin moon can give you the best chance of seeing the Milky Way clearly, especially when the sky is otherwise dark. A full moon, by contrast, can light the arches and trail and make the hike feel less shadowy.
A July outing with a full moon was described as beautiful, while another outing in November had clear weather and visible northern lights. Northern lights are not a promised feature of this activity, so treat that sighting as rare luck rather than part of the plan.
The provider encourages photographers to consider any point in the lunar cycle. That is good advice. You might choose a darker night if your main goal is stars, or a moonlit night if you want more detail in the rock formations. If you specifically want a darker sky, contact the provider first so they can confirm that the timing and conditions suit your plans.
Photography can also show you things your eyes miss. A long exposure may pick up faint light in the sky that does not look obvious while you are standing beneath it. Do not judge the night only by what you can see without the camera.
Same trailheads, a different kind of day:
- San Francisco: Yosemite National Park & Giant Sequoias Hike
★ 4.5 · 1,777 reviews - Valley of Fire Guided Hike from Las Vegas
★ 5.0 · 1,611 reviews - Los Angeles: The Original 2.5-Hour Hollywood Sign Hike
★ 5.0 · 1,468 reviews - Small Group Waterfall and Rainforest Hiking Adventure on Maui
★ 5.0 · 1,417 reviews
Gear, clothing, and practical comfort
Bring a camera, hiking shoes, water, and a charged smartphone. Hiking shoes matter because the route includes roughly two miles of walking in a national park after dark. You should also be comfortable carrying your own small items while using a headlamp and handling a camera.
The included red LED headlamp helps with navigation, but it does not remove the need for care. Use it to spot the trail and watch where you place your feet. The guide will lead the group and can point out drop-offs, a detail that one participant especially appreciated.
The guide provides tripods if needed. You may bring your own camera, use a phone, or arrange an additional-fee DSLR rental. If photography is your main reason for booking, check your battery before leaving. Night shooting and repeated exposure tests can use power quickly, and there is no suggestion that charging is available at the trailhead.
Pets are not allowed. Children under six cannot join, and the activity is not suitable for wheelchair users or people with mobility impairments. The route is short by park standards, but darkness, uneven ground, and the need to move between rock formations make those limits important.
Is $175 a fair price?
At $175 per person, this is not a cheap add-on to a Moab day. You also pay the Arches entry fee, which is $30 per standard vehicle, and you must arrange your own transportation to The Windows parking area. Camera or lens rental costs extra.
The value comes from the guide, small group, equipment access, and time saved through direct instruction. If you already know manual camera settings and own a tripod, you may find the price harder to justify. You could visit the park on your own and try night photography without paying for a guide, though you would lose the structured lesson and personal help.
For a first astrophotography experience, the price makes more sense. You are paying for someone to explain the process, help you avoid basic errors, guide you safely through the dark, and show you strong locations in the Windows area. The small group also keeps the instruction more personal than a large stargazing event.
The extra rental option can improve the value for someone who wants to experiment with a DSLR but does not own one. Just confirm the camera or lens choice before the start, since the rental is not included in the main price.
Who will get the most from this hike?
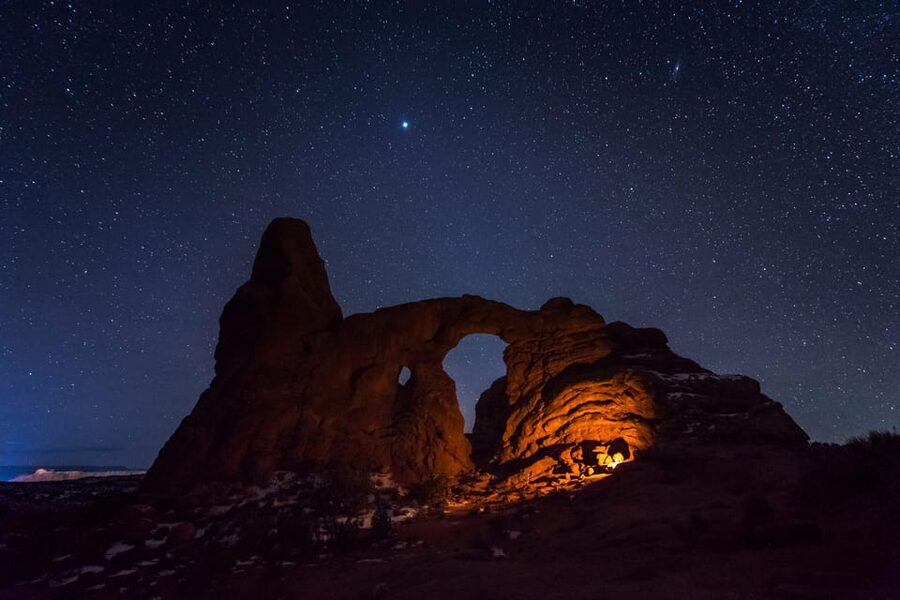
This tour suits you if you want a night in Arches that feels different from a daytime photo stop. It is especially useful for first-time stargazers, beginners with a camera, and phone photographers who want help with night settings.
It also works for friends or couples with different skill levels. One person can use a DSLR while another works with a phone, and the guide can move between participants. The group limit of six gives everyone a better chance to ask questions.
Experienced photographers may still enjoy the location and night access, but the teaching could cover material they already know. For them, the value depends on the guide’s park knowledge, the chance to photograph the arches after dark, and the convenience of having a tripod and route guidance.
This is not the right choice if you want a fast, easy viewpoint stop. You will be walking for about two miles, using a headlamp, and paying attention to the ground. It is also not ideal if you need guaranteed Milky Way conditions. Weather, moonlight, and visibility always shape the result.
The English-speaking guide is another practical point. Instruction is offered in English, and the activity is limited to one language.
Booking details that affect your evening
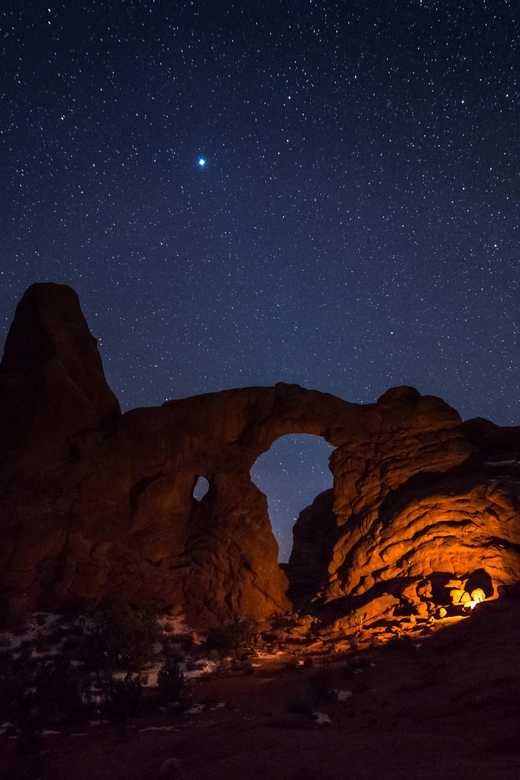
Plan to arrive at The Windows parking area in time to meet the guide after dark. The meeting point is the first parking lot on the right. Transportation to the park is not included, so you need your own way there.
The activity lasts two hours, but the start time changes with availability and darkness. Check the schedule carefully against your dinner plans and any other evening activity in Moab.
You can cancel up to 24 hours in advance for a full refund. The reserve-now, pay-later option also helps if your park schedule is still shifting. Because the experience depends on night conditions, that flexibility is useful, though you should still check the forecast and moon phase before setting your expectations.
Should you book the Windows night hike?
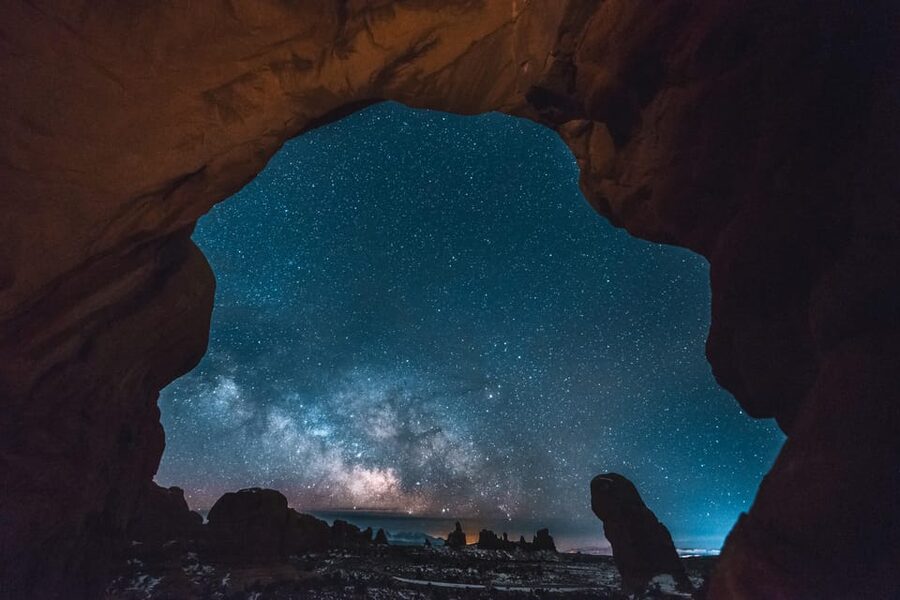
Book it if you want more than a starry view. You’ll walk among some of the most striking formations in the Windows area, learn practical night photography, and leave with a better chance of making your own memorable images. Sam and Brandon have both shown the patience that beginners need, including with phone cameras.
Skip it if you dislike uneven nighttime hiking, already have strong astrophotography skills, or want a guaranteed dark sky and Milky Way display. The $175 price becomes worthwhile when you value personal instruction and a small group. For a first attempt at photographing Arches after dark, that combination is the main reason to go.
FAQ
Where does the tour meet?
Meet your guide at The Windows parking area in the first parking lot on the right.
How long is the hike?
The activity lasts two hours and involves roughly two miles of hiking from the Windows trailhead.
Which Arches formations will I see?
The route includes the North Window, South Window, Turret Arch, and Double Arch.
Is equipment included?
Red LED headlamps and tripods, if needed, are included. You must bring your own camera unless you arrange an additional-fee DSLR camera or lens rental.
Can I use a smartphone instead of a camera?
Yes. The guides can provide tips for using smartphone cameras, including iPhones, to photograph the night sky.
Do I need to pay for park entry?
Yes. Arches National Park entry is not included. The stated cost is $30 per standard vehicle.
Is the tour suitable for children or wheelchair users?
Children under six cannot join. The activity is not suitable for people with mobility impairments or wheelchair users, and pets are not allowed.
Just added around the USA
- Private Family Hike in Yosemite★ 5.0 · 37 reviews
- Private Guided Hiking Tour in Yosemite★ 5.0 · 94 reviews
- Guided Yosemite Hiking Excursion★ 5.0 · 80 reviews
- Yosemite Valley Private Hiking Tour★ 5.0 · 83 reviews
- Sedona Archaeology Hiking Tour★ 5.0 · 73 reviews
- Sedona Creekside of Cathedral Rock Hike With a Private Guide★ 5.0 · 37 reviews
- Sedona Dark Sky Sunset & Night Hike With a Private Guide★ 5.0 · 86 reviews
- Sedona: Vortex Yoga Hiking Half-Day★ 4.8 · 52 reviews
USA Hiking Tours, side by side.
Multnomah Falls and Columbia River Gorge Half-Day Hiking Tour
Read our review →
Small Group Waterfall and Rainforest Hiking Adventure on Maui
Read our review →
Kauai Adventure: Kayak & Hike to Secret Falls with Expert Guide
Read our review →
Peekaboo Slot Canyon UTV and Hiking Adventure
Read our review →This walk also sits in